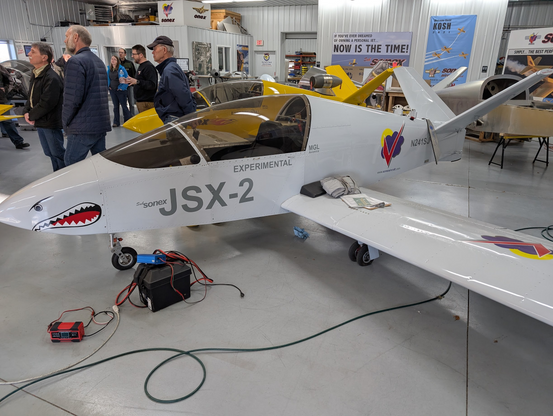
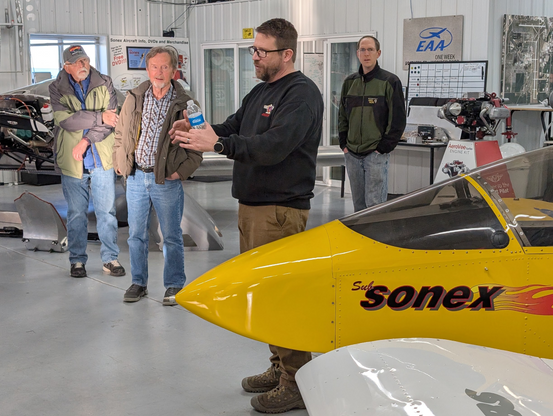
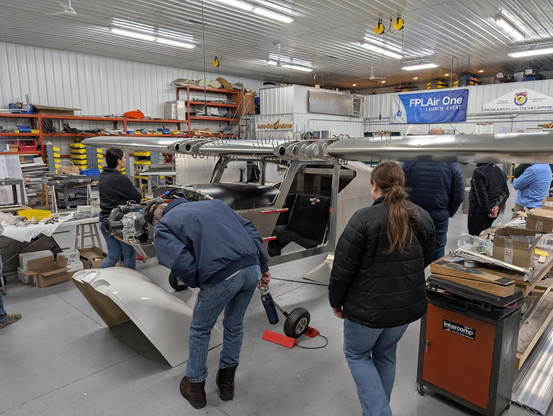
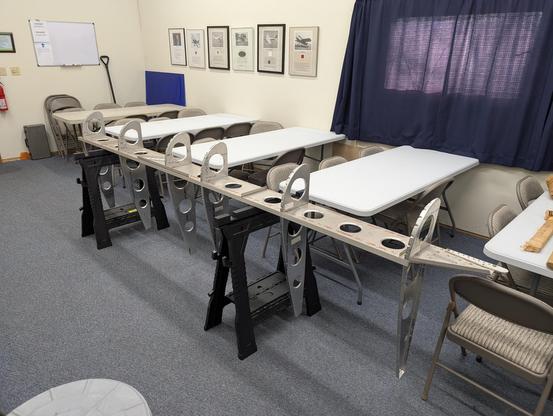
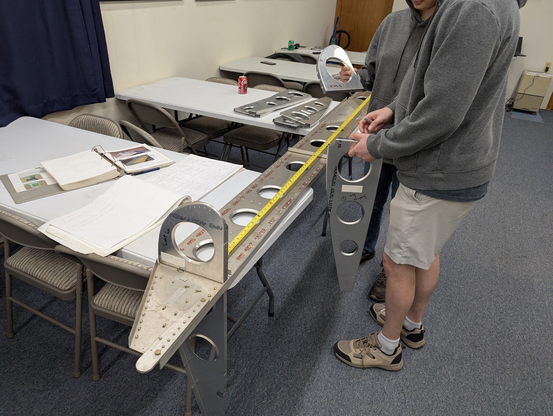
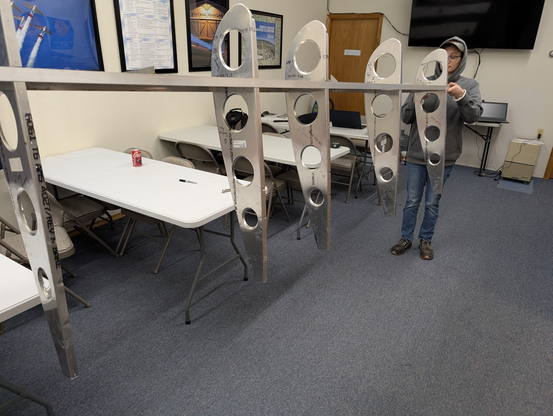
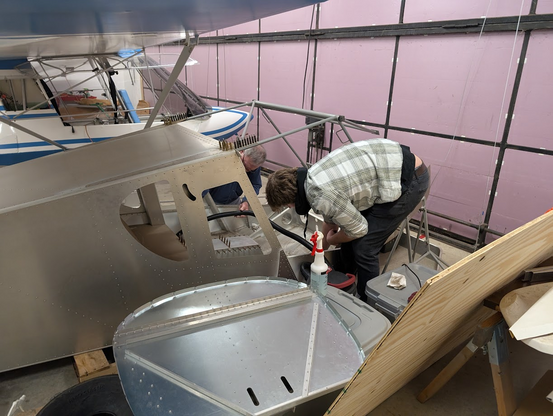
Mark Schaible, the Owner and President of Sonex, gave my EAA chapter a tour of their facilities and explained how they got to where they are making kitplanes and where they are going in the future. I'm a big fan of the little jet they have and if I had piles of money I'd definitely build one.
Recent searches
Search options
#kitplane
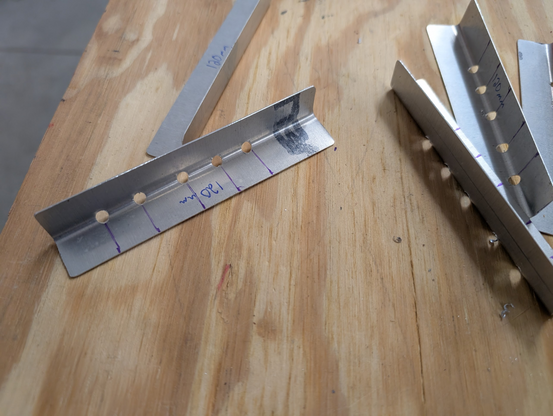
Our Tuesday build night made good progress on the Zenith kit. I worked on making the leading edge slat brackets while others worked on getting ribs attached to the wings. It's nice working with clear instructions.
Tuesday build at the EAA hangar. We started by making some slat support backets for the nose ribs while another team identified the ribs for the wing. An encouraging start to our build as we have nice instructions, a nice kit, and nice videos to help us.
EAA Build Night at the Chapter. While some of us focused on creating an inventory of parts for the Murphy Rebel we are looking to sell the rest of us focused on cleaning the Zenith CH-750 kit from its 10 years of grime and dust. We were careful not to intermingle the parts and moved things around to store them while we processed things. The weather here is being generous and it is getting warmer.
TUESDAY BUILDNIGHT
My EAA chapter completed the purchase of a Zenith CH-750 kit to complete and we moved it into the hangar and then began inventory and cleaning.
Sorry everyone (maybe 1 of you) that was waiting for my Tuesday build night post. Here it is, still working on the tail and riveting the skins on the tail cone. Now we're on to the curved side parts and the directions are pretty vague about the fitment.
Yesterday was Tuesday which means more work building the tail of a Murphy Rebel with my EAA Chapter. Deburring and riveting of the skins. Check out alt-text for description of what is being shown.
It is the last build day of the year for my EAA chapter. We got the tail skins on and match drilled to the bulkheads without any major issues cropping up. It was nice to make progress without any strange things getting in the way.
Tuesday night, that means building with the EAA chapter! Got to actually start riveting together the tail bulkheads after match drilling them together for weeks (having only two hour work sessions slows things down). But we got the corners smoothed, holes deburred, and the first bulkhead riveted together and ready to go.
Continued work at my #EAA chapter plane build. Working on getting the bulkheads matched up properly and drilled together. Final stretch before riveting them together for the tailcone.
Tonight I worked with some other members of my EAA chapter on our educational build of a Murphy Rebel. My subteam was working on the tail cone assembly and as such we had to trim bulkheads and drill them for riveting into the support structure. Not too complex of work for a Tuesday night and a great experience all around in teamwork.
Airplane Build: Started some riveting on the elevator tip rib. Decided to get the tip ribs scuffed, cleaned, and then riveted together. My yoke didn't fit over both flanges so I had to use the rivet gun on the web of the ribs. I realized that I primed the outside of the skin, which I haven't been doing because I was going to do that when I paint the plane. oops; guess it'll be primed for now. The skin was very tight and was slow to rivet
Airplane build update: I had ~30 minutes to do a little airplane work and a special tool had just arrived. The end of the elevator outer rib is super tight (and I've read elsewhere that Van's used to dimple this for you) but mine was not. So I ordered pliers with a dimple die welded to it allowing access to that area and dimple it. No idea how I'm going to buck that rivet. I thought I had time to debur and dimple a skin.... nope
(Continued...)
I had to travel to Austin TX last week for work and this week is Air Venture (which I live close by) but to keep progress going on my build I continued dimpling the counterweight ribs for the elevator, the skins for those (not pictured), and I got to use my trailing edge jig to cut countersink into the edge wedge to accept the skin dimples. One nice thing about countersink cuts is you don't have to debur the holes first 
In the past week of airplane building I got the skins all match drilled to the skeleton and everything was happy. Then I also screwed up drilling the trim plates (both of them). Ordering more.
Anyway, I started the week by drilling the sheer clips to match the trim close-out tabs on the skins. I had to use a long bit to get a good angle that close to the spar.
Then I upsized the elevator horns and got the skins drilled.
(continued...)
Got a few hours to mess around in the workshop. Started by cleaning up and then placing the trim inspection plate doublers and match drilling to the skins. After that there were these cute little parts called "gussets" in the instructions that I also cleaned up and installed on the rear spar. Those holes got upsized to 1/8" from the 3/32" they come as originally.
Continued...
"This is getting out of hand! Now, there are two of them!" - Star Wars: Episode 1 - The Phantom Menace
I got my other elevator cleaned up and temporarily put together, then drilled all the ribs on both at the same time. Next up, the trim inspection reinforcement plates!
I love how internal structures of aircraft look. My right elevator is coming along slowly. I'm at that step where I have to drill all the holes to make sure they match up nice. (Then do it all again on the left elevator).
Not pictured: More deburring of metal, having to order a step-bit to make a 5/8" hole. drilling a 5/8" hole, bending a tab on all four skins.
After a trying day at work trying to stop me, I actually did some work on my plane. Nothing super complex but work that has to be done.
I'm working on the elevators (control your pitch) and I have my replacement punched spars so the laser cut parts. They look similar (good)
Once I confirmed I had the parts I peeled the coating off and set to work cleaning up the spars for the rough form they are in.
continued...


